|
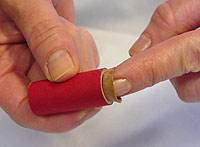
This end plug is going to be the bottom of the shell (projectile), and to make it strong enough to withstand the blast of
launching it out of the mortar, you should use it backwards in the tube and reinforce it. To do this, press the end plug in
one end of the tube, and using a small stick or pencil, push the plug all the way to the other end, leaving a full 1/2"
of space above it. This space is important, it will serve as the time delay.
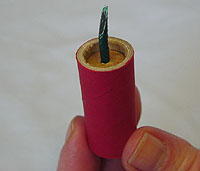
Insert the 1-1/2" piece of fuse (with the diagonal end sticking out) so about 1/2" is outside the shell.
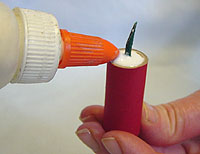
Stand the tube up, and fill the empty space with Elmer's White Glue. This will have to dry at least several hours, or possibly
overnight before you can continue. It is possible to use Hot Melt Glue in place of Elmer's at this point if you're impatient,
then you need only to wait until the glue cools, which should be in about 15 minutes or so. It should be noted however, that
we have had a few misfires using Hot Melt Glue and Elmer's is really the better choice. It's possible that under the right
conditions the molten glue surrounding the fuse effects the powder core in some way. In any case, if you're just too impatient
to use Elmer's, and going to use Hot Melt Glue, be sure to use a low temperature gun and low temperature glue sticks. This
1/2" thick gap that you filled with glue will serve as the time delay for the shell. Safety Fuse burns at about 3 seconds
per inch, so it takes the fuse about 1.5 seconds to burn through the 1/2" thick glue plug you just made. This gives the
shell time to reach its maximum altitude before the fuse burns all the way through into the Powder. You can adjust this delay
by making the glue-filled gap thicker or thinner. If the projectile ignites before reaching its maximum height, make the plug
thicker. If it ignites after it reaches its maximum height, and is on its way back down, make the plug a bit thinner.
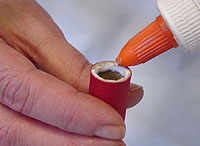
Smear some Elmer's Glue around the lip of the tube and press in the other end plug. Push the plug into the tube so there's
about a 1/16" gap between the tube end and the plug edge. This is just so we've got another anchor point for more glue
between the tube and plug. Smear a good quantity of glue around the rim so the end plug will be locked into place. This end
of the tube must be glued with Elmer's and not with Hot Melt Glue. Since the glue layer is not very thick, it will not take
that long to dry.
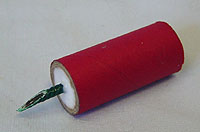
Set the completed shell aside to dry.
Making the mortar tube.
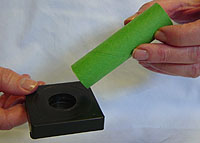
The Mortars for the Aerial Mortar come in 2 pieces, a small plastic base, and a heavy wall launch tube. Morons must make these
things because we've never seen a tube actually fit well in a plastic base. Test fit the two pieces and see if they will it
together. Chances are that they won't, so take a file and just file a bit off the edge all the way around the tube so it's
possible to press it into the base.
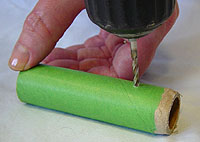
Now take your 1/8" drill, and make a hole 3/4" from the bottom of the tube. This will be the fuse hole.
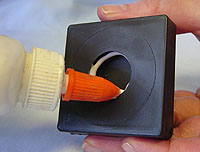
Spread some Elmer's Glue around the indent in the base and press the tube into the base firmly. Make sure that the tube is
pointing up straight from the base.
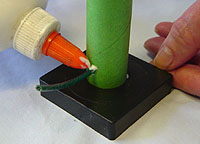
Cut a 3" piece of Visco Fuse and insert it all the way into the hole. Spread a little Elmer's around the hole to hold
the fuse in place.
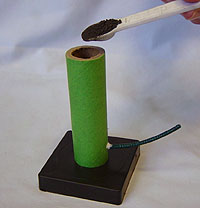
Pour in a 1/8 TEASPOON of Granulated Black Powder into the mortar.
You CAN NOT substitute Flash Powder for the Granulated Black Powder. Black Powder burns slow, and even slower when it
is granulated. We want to gently (but quickly) launch the projectile out of the tube and ignite the delay fuse.
If you were to use Flash Powder (in any amount) in the launch tube it would detonate and destroy the mortar, and also
destroy your projectile.
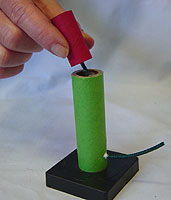
Push your shell (fuse first) all the way down into the mortar. The shell should slide easily down into the tube, you should
not have to force it. When completely dry, the completed Aerial Mortar will be ready for use.
|

